BookDrive Pro Software Manual
From Atiz Support Wiki
Contents |
How to set up the software
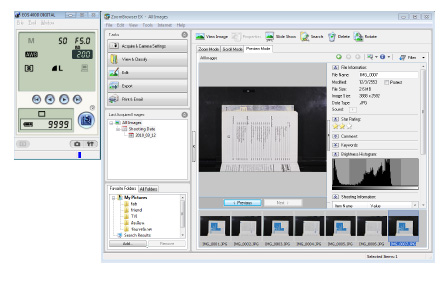
BookDrive DIY comes with 2 applications.
1. BookDrive Capture – for controlling the cameras and capturing the images
2. BookDrive Editor Pro – for image processing and making e-books
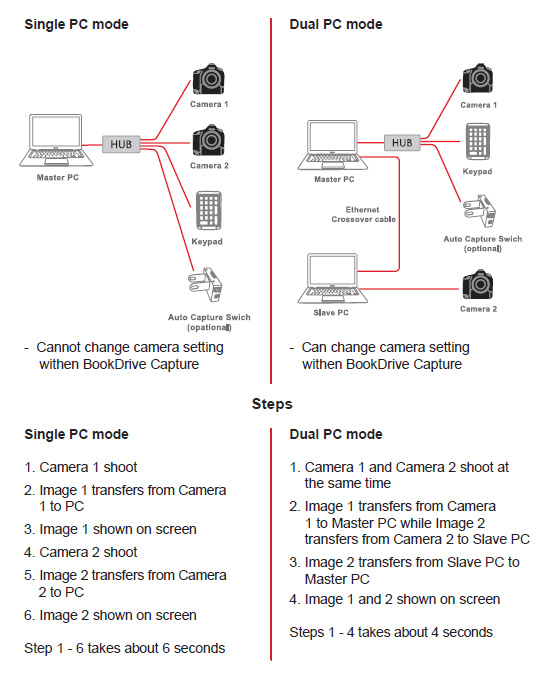
BookDrive Capture 3 has two modes for operation: Single PC and Dual PC modes.
Single PC mode
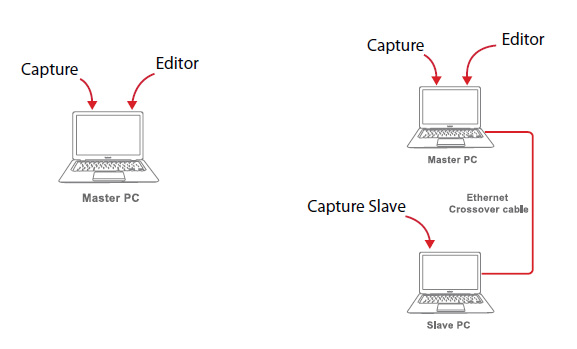
Use 1 PC to control 2 cameras. The cameras will shoot one at a time sequentially. Max capture speed is 700 pages/hour.
Dual PC mode
Use 2 PCs to each control 1 camera. The PCs must be linked togethervia LAN network, ethernet crossover, or under virtual machine enviro ment. Max capture speed is 900 pages/hour.
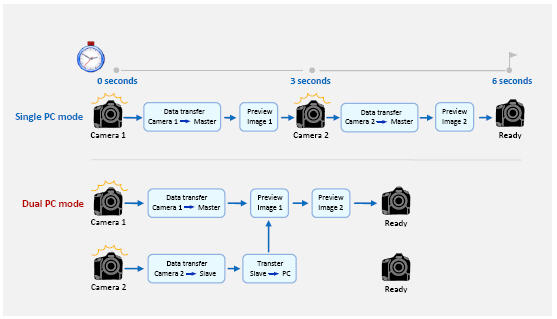
The following picture summarizes the key differences of Single PC mode VS. Dual PC Mode
Workflow comparison
Installing the Software
Step 1 Make sure you’ve successfully installed Canon drivers and software that come with the cameras. Do not proceed to next step if you still can’t do PC remote shooting using the Canon software.
Step 2 After you can do PC remote shooting using Canon software, you can now install BookDrive software. How much you have to install is based on what
mode you want to operate.
- For Single PC mode, it requires only 1 PC. Simply install BookDrive Capture and BookDrive Editor Pro on that PC.
- For Dual PC mode, it requires 2 PCs (or 1 PC with another virtual machine installed on it). Install BookDrive Capture and BookDrive Editor on the Master PC, and install Capture Slave on the Slave PC.
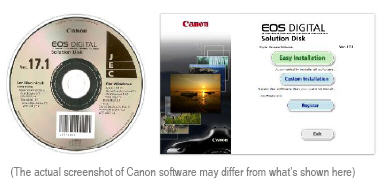
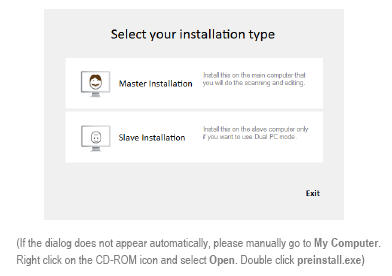
Step 3 Close any running programs, insert the Atiz software CD. Choose the mode that you want to use.
You will not find this screen if you download the software directly from Atiz website.
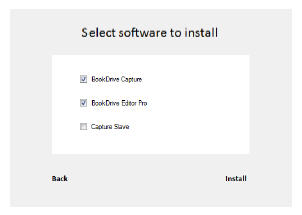
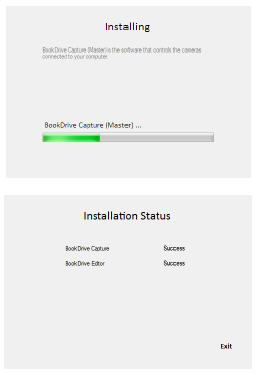
Step 4 The appropriate programs will be pre-selected for installation based on the
installation mode you selected.
IMPORTANT: If you are going to run Dual PC mode, do not forget to install
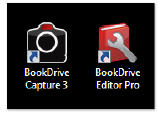
Step 5 Once finished, you will see the program shortcuts on the desktop.
Steps to activate the software
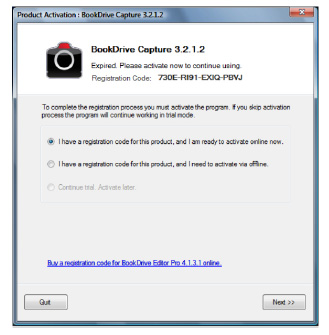
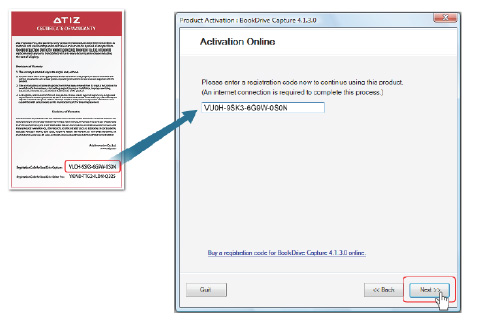
1.You will see the activation window the first time you open the program. The program allows 15 days of trial with no activation.
If you’re ready to activate, click Next.
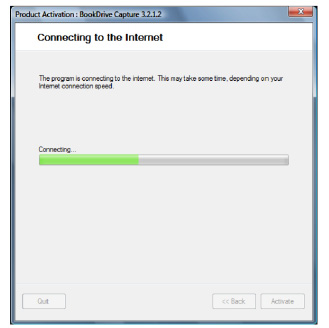
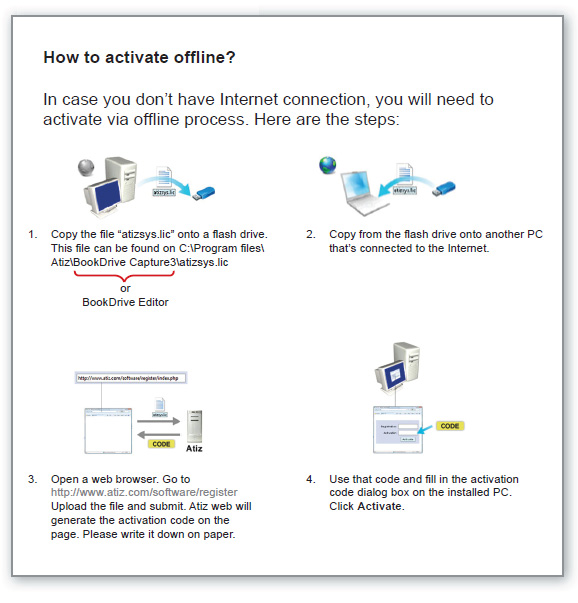
2. Activation is done over the Internet. If you don’t have Internet connection, please see How to activate offline.
3. Please find your warranty card. It contains the registration code.
Fill in the registration code in the dialog box. Click Next.
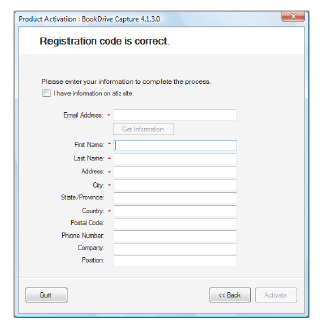
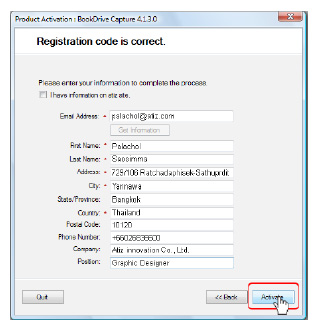
4. If the registration code is correct, the program will ask for your contact
information. We need this information to contact you in the future when
there are software updates. Simply fill in and click Activate.
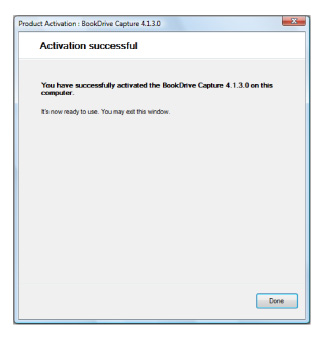
5. The activation is completed. You are ready to use the program.
Setting up for Dual PC mode for the first time
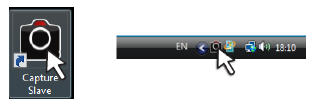
1. Open Capture Slave on the Slave PC.
2. First, we need to do a network setting at the Slave PC.
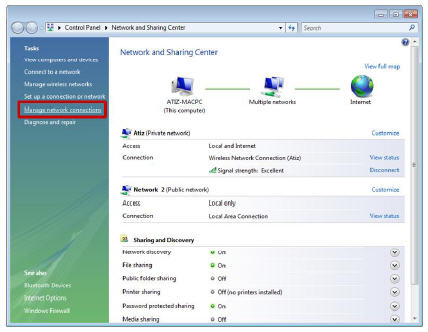
For Vista ‐‐ Start / Control Panel / Network and Sharing Center
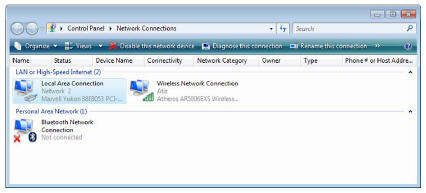
3. Select Manage network connections
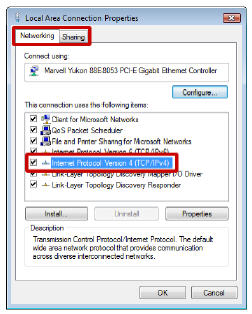
4. Right click at the Local Area Connection and select Properties
5. Select Internet Protocol Version 4 (TCP/IP) and click Properties
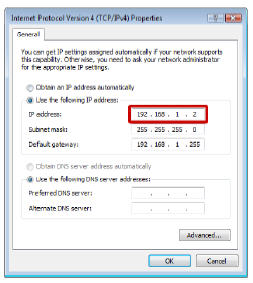
6. Select Use the following IP address: and fill in the number 192.168.1.2
7. At this point, the setting at the Slave PC is done. You can proceed to do a set upon the Master PC.
8. You can now use the peripherals from the slave PC to use with the Master PC.
You may need 2 computers. But only 1 set of monitor, keyboard and mouse is enough.
9. It’s time to configure network settings on the Master PC. The procedure is similar to what you just did on the Slave PC. But this time, instead of setting the IP value as 192.168.1.2 as you did in the Slave PC, on Master PC, it has to be 192.168.1.1
10. Now on the Master PC, let’s check if the Master PC can communicate with the
Slave PC properly.
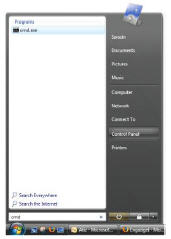
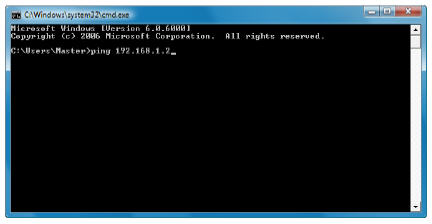
11. Click Start, type cmd and Enter
12. Type ping 192.168.1.2
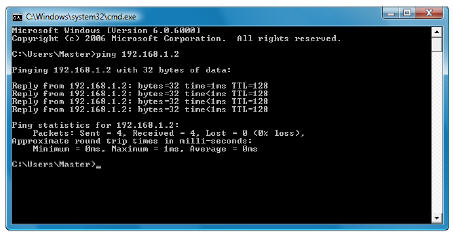
13. If the communication is a success, you will get a reply like this:
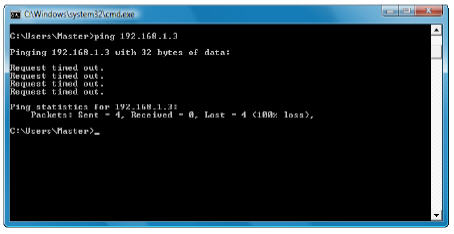
If the communication attempt is not successful, it will show Request timed out:
14. After you have installed the BDC Master and have checked that the communication with the Slave PC is successful, now you are ready to do a simultaneous shooting.
Open the BookDrive Capture program on the Master PC.
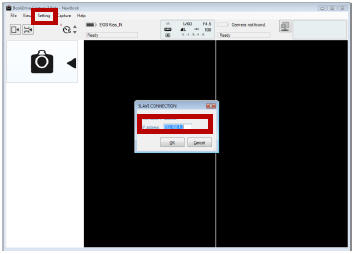
15. Click Tools and Settings
Select Use the following address and fill in 192.168.1.2 and OK
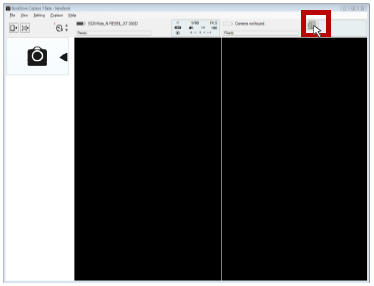
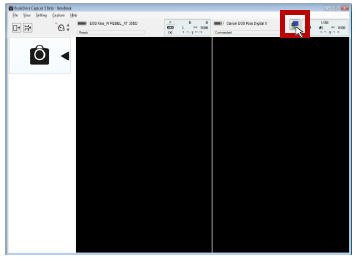
16. Click the networked camera icon
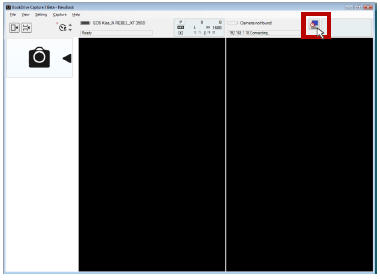
17. BookDrive Capture on the Master PC will attempt to connect with Capture Slave on the Slave PC.
Once the network communication is successful, it will show Connected.
18. Connect the camera on the right (pointing toward the left page) to the Master PC, and connect the camera on the left (pointing toward the right page) to the Slave PC.
Turn on both cameras.
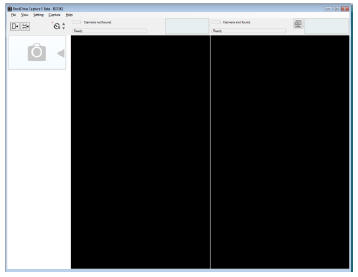
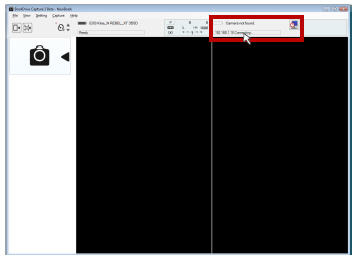
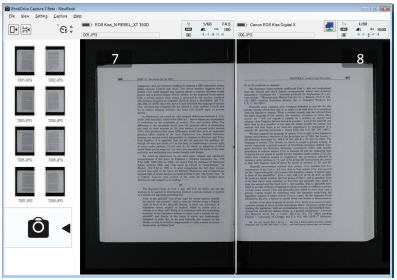
19. BookDrive Capture should be able to detect both cameras as shown here.
20. Click the Capture button to fire up shooting!
