BookDrive Pro Hardware Manual
From Atiz Support Wiki
Contents |
Safety Precautions
Assemble everything on the floor first. Once the assembly is complete, carry the whole machine with at least 2 persons from the floor to the table.
- Place the machine on a level surface to ensure proper working condition. Do not tilt the machine.
- Do not place the machine near heaters or volatile, flammable or combustible materials that may catch fire.
- BookDrive Pro is not designed to be lifted. Do not lift or relocate the machine once it has been fully assembled. To relocate the machine, de-assemble it into parts first and then re-assemble them again at the desired location.
Getting to know your BookDrive Pro
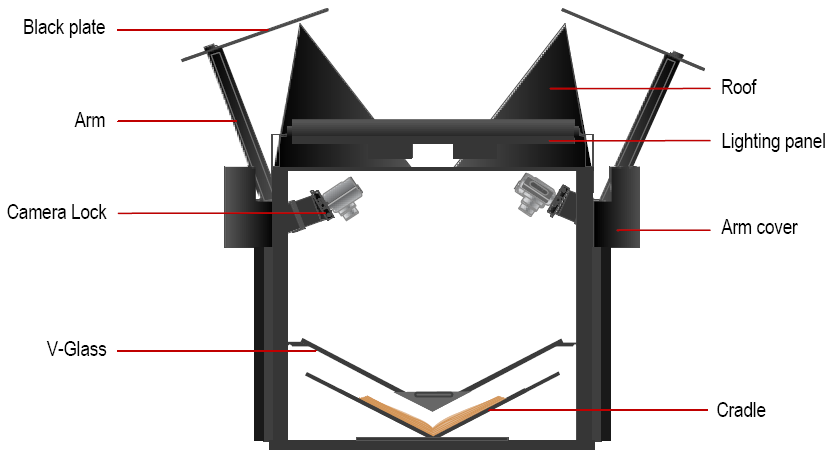
BookDrive Pro has the following components.
How to assemble the platform
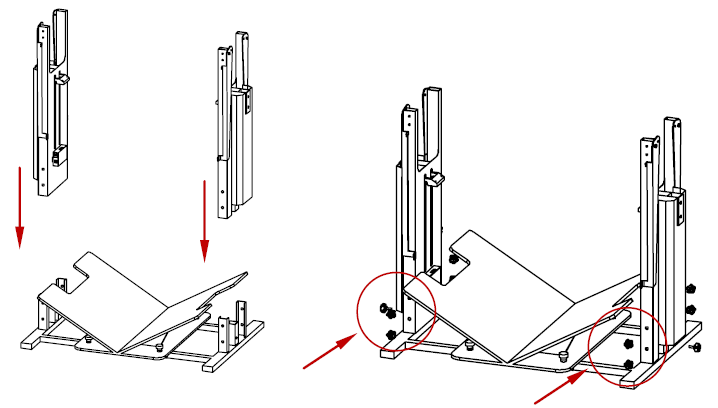
Step 1 Insert the legs to the base and lock the legs with 5 knobs on each leg.
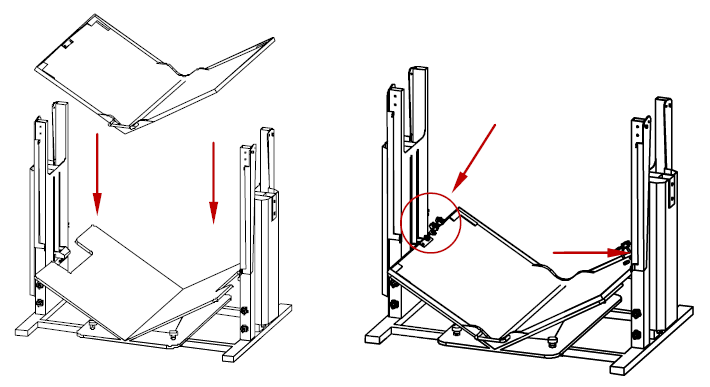
Step 2 Insert the legs to the base and lock the legs with 5 knobs on each leg.
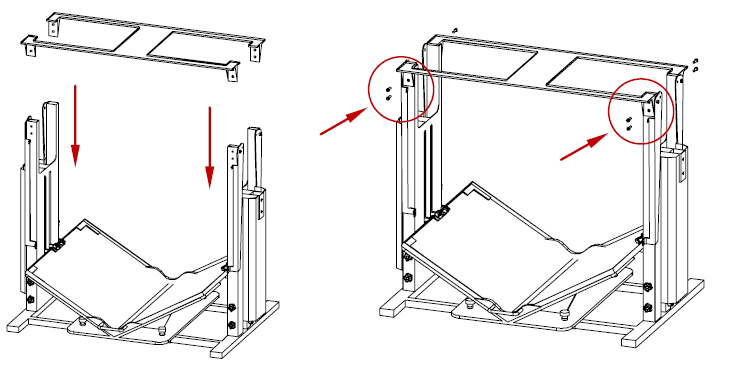
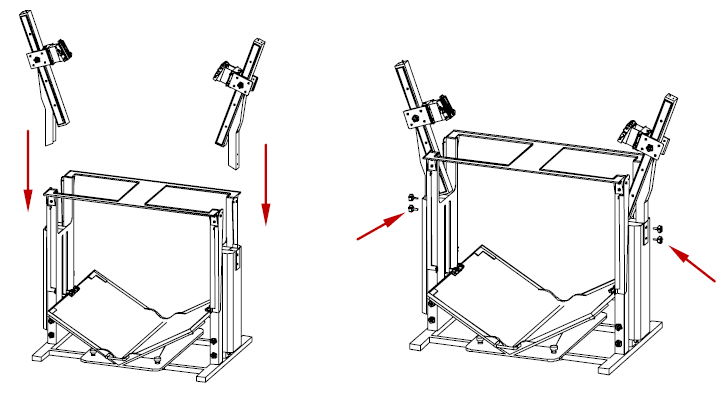
Step 3 Insert the roof base to the legs and lock it with 4 screws on each side.
Step 4 Connect the arms to the legs and lock the arms with 2 knobs on each arm.
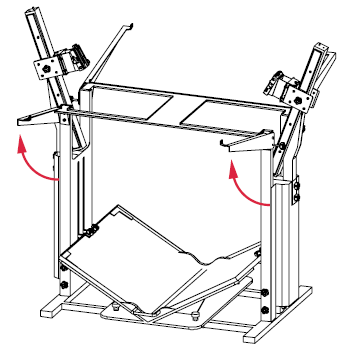
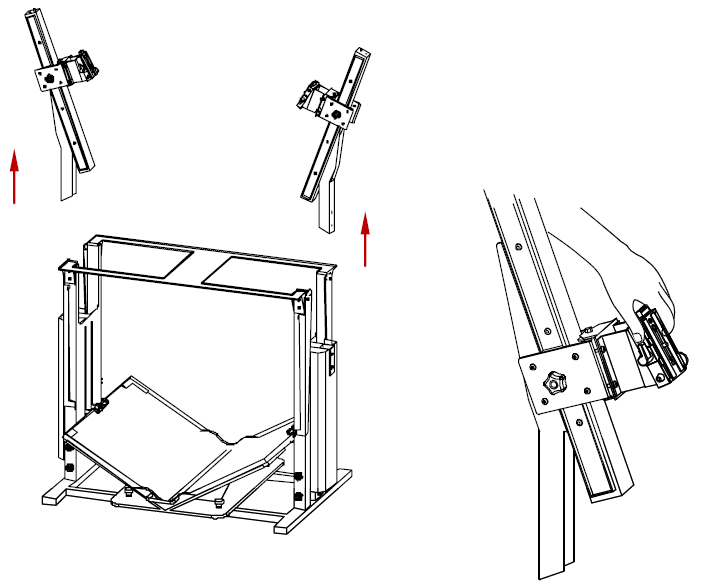
Step 5 Move light hangers in the front and the rear upward to their positions and lock them with knobs.
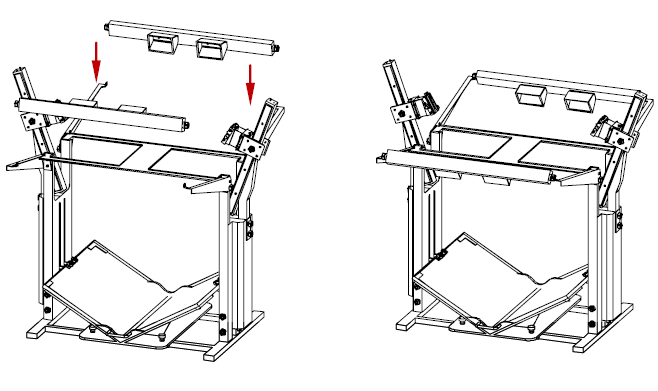
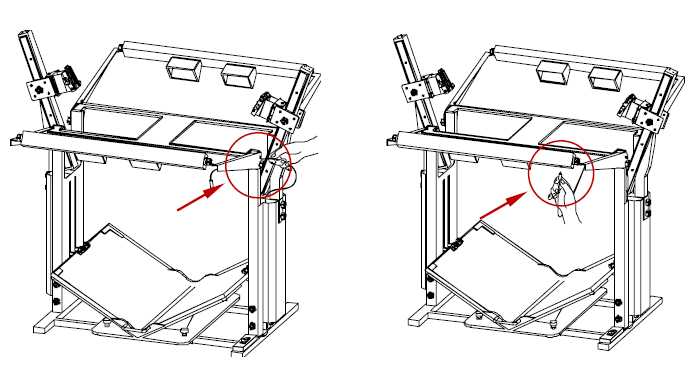
Step 6 Hang the lighting panels on the hangers and lock them with a knob on each side.
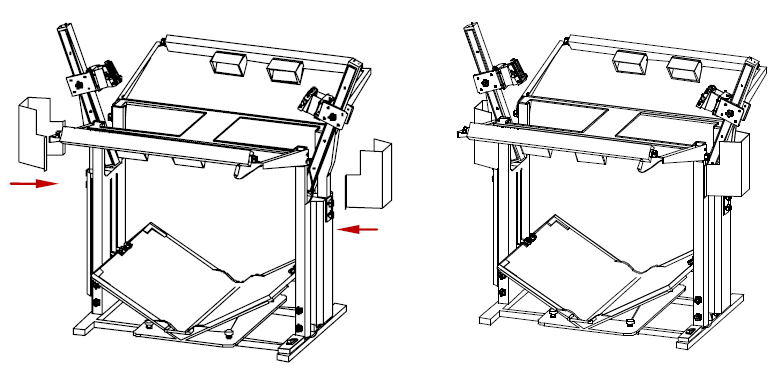
Step 7 Attach the arm covers to the top part of the legs. The magnets on the covers will hold to the legs.
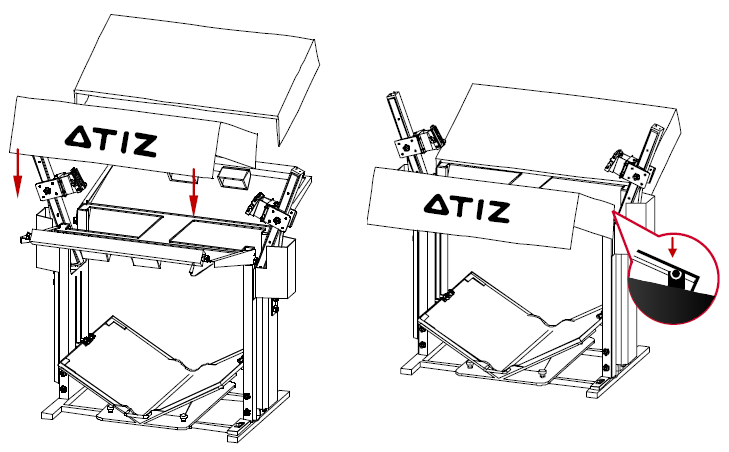
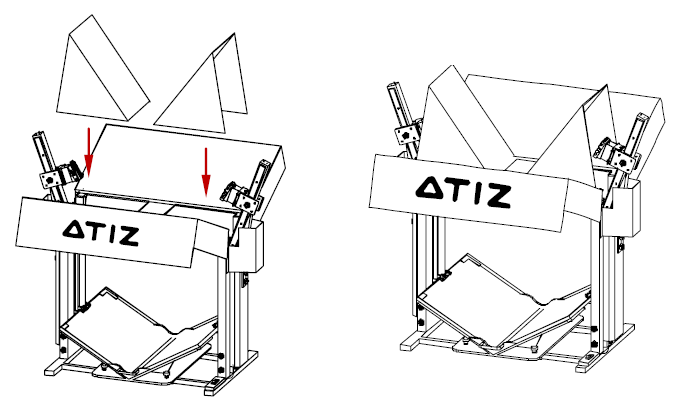
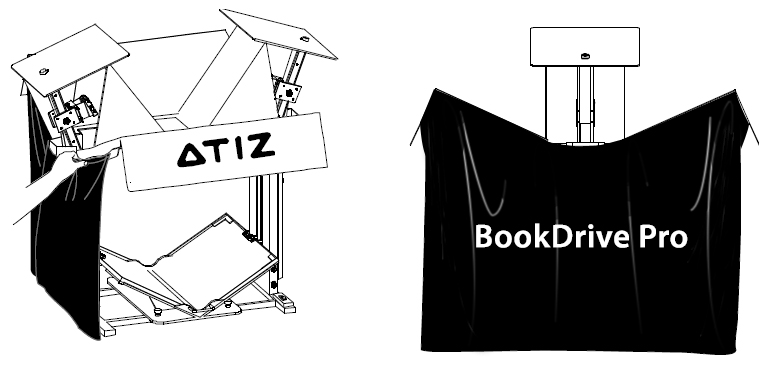
Step 8 Place shade on the roof base and the lighting panels.
Step 9 Put the roof on the roof base like this.
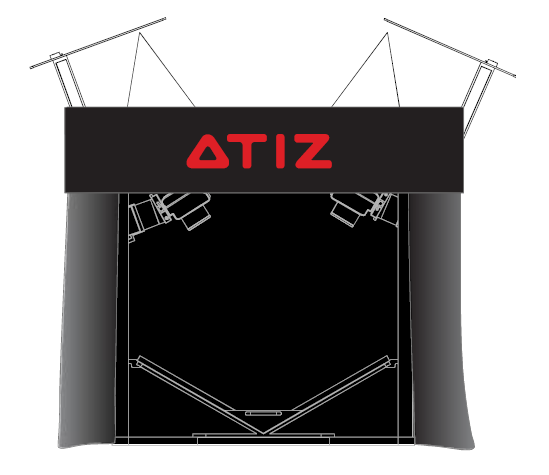
Step 10 Attach the black plate to the end of the arm. The black plate will block the view of ceiling from appearing in the scene.
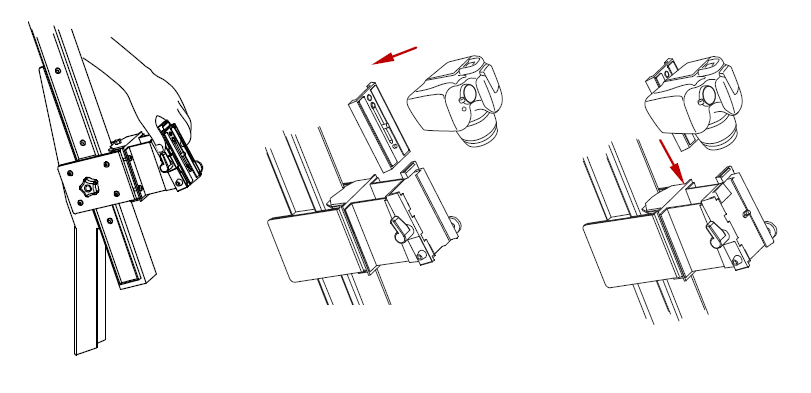
Step 11 Lock Camera
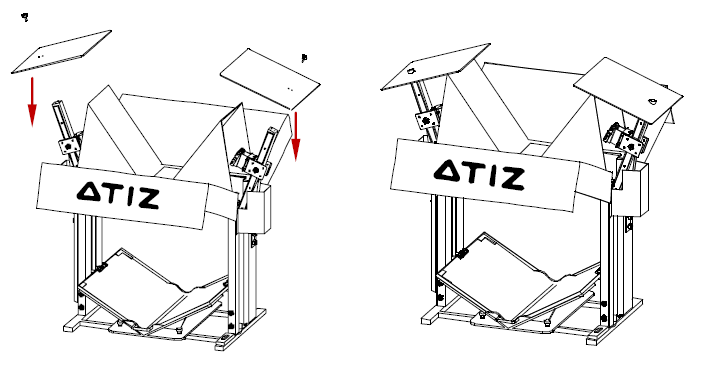
Step 12 Attach the shade to the top part of the lighting hangers. The magnet inside the shade will hold the shade to the hangers.
Step 13 This is what to expect once you’ve finished the assembly.
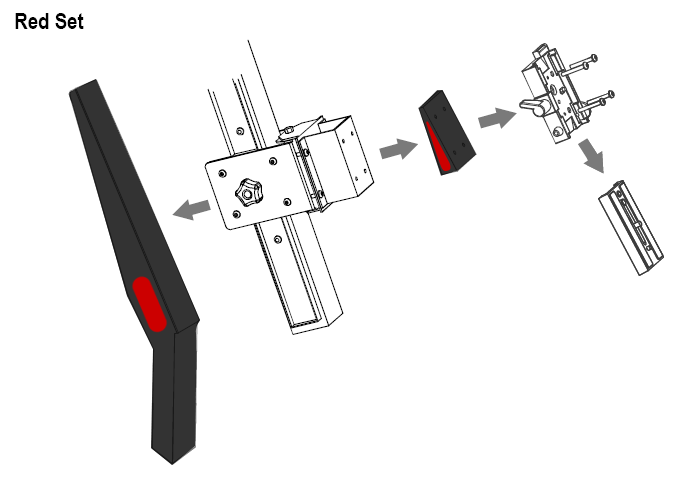
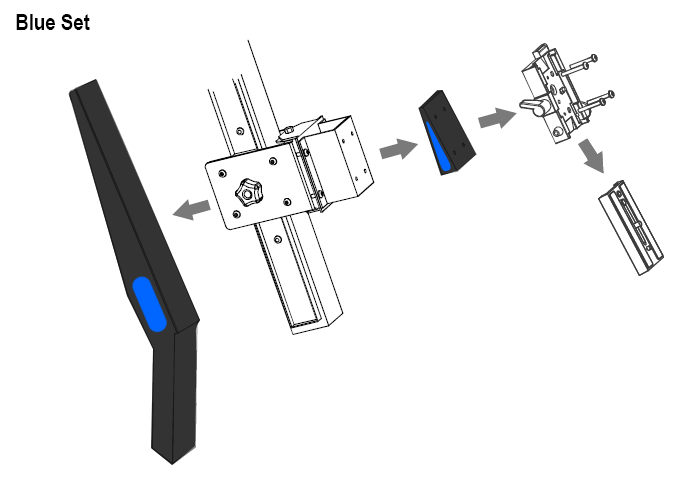
How to change from Red Set to Blue Set.
Red Set allows you to cover an area as large as A2 size, but sometimes when you want to scan small books and you don’t want to leave too much black border part, you can use Blue Set to scan small to medium-sized books.
