BookDrive DIY Scan Manual
From Atiz Support Wiki
| Revision as of 09:08, 3 July 2009 Noppadol (Talk | contribs) ← Previous diff |
Revision as of 09:14, 3 July 2009 Noppadol (Talk | contribs) Next diff → |
||
| Line 146: | Line 146: | ||
| - | <center>[http://www.atiz.com/atiz_connect/bookdrive_diy/manuals/edit.pdf Download PDF File Version]</center> | + | <center>[http://www.atiz.com/atiz_connect/bookdrive_diy/manuals/scan.pdf Download PDF File Version]</center> |
Revision as of 09:14, 3 July 2009
Contents |
How to scan a book
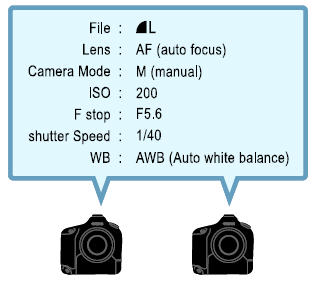
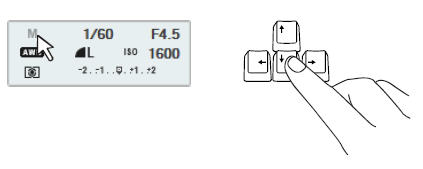
Step 1 Make these settings on the cameras first before mounting them on the platform.
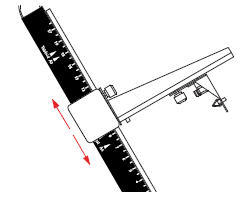
Step 2 Look at the ruler guide to get a general idea where to position the cameras.
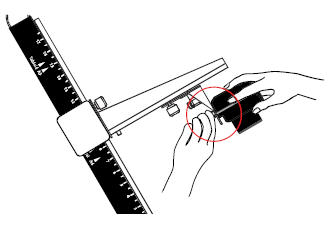
Step 3 Secure the cameras on the mounts.
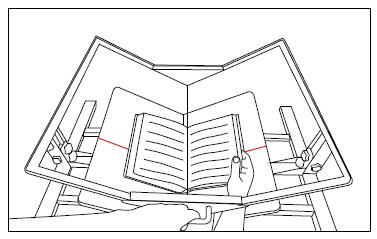
Step 4 Place the book in the center of the cradle.
Step 5 Open BookDrive Capture software on the Master PC.
If you are using a Dual PC mode, also open Capture Slave on the Slave PC as well.Make sure that you have made proper configuration and that Master PC can now communicate with the Slave PC according to the Set up software booklet.
Step 6 Turn on both cameras.
Close all other Canon programs that may be running.
(If you don’t close, a Canon program may compete with Atiz software in taking the control of the cameras, which could result in an error).
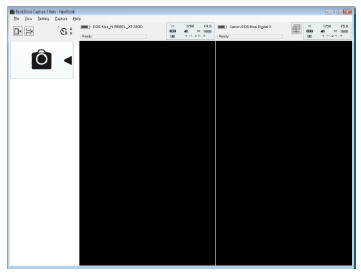
Step 7 For Single PC mode, both cameras should be detected and shown on the software successfully. Note again that the Single PC mode can only be used in Windows XP.If you have Windows Vista, you need to run Dual PC mode.
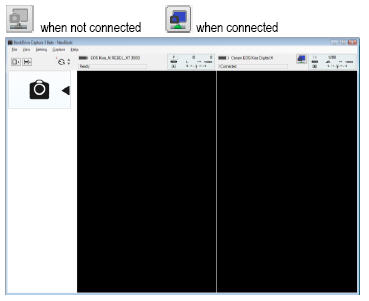
For Dual PC mode, press connect button, the Master PC will connect with the
camera on the Slave PC.
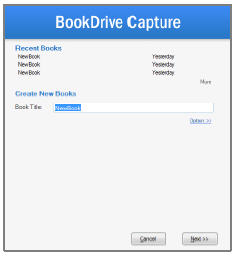
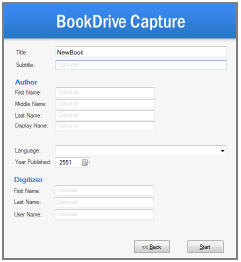
Step 8 Select Scan a New Book. Designate a folder where you would like the captured images to be stored.
Step 9 Fill out the info of the book. They are tags or metadata that will be saved in xml files that can later be used. Do not worry about this step if you do not plan to take advantage of metadata.
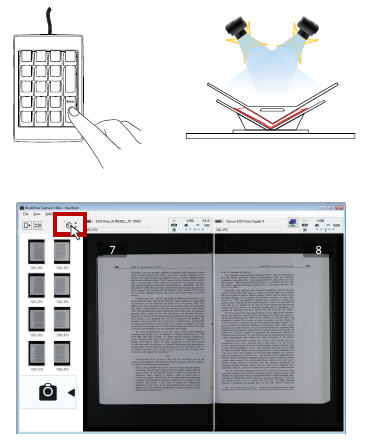
Step 10 Let’s take a test shot. Press + the keypad. The test shots will render on the screen and be discarded automatically.
Step 11 If you’re not happy with the test shots, you can make change to the camera settings in the software. Click the setting that you want to change and use UP or DOWN arrows to change the value.
For example, if the images appear too bright, you may want to increase the shutter speed from 1/40 to 1/50 and so on.
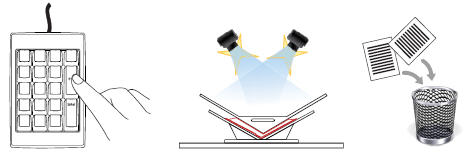
Step 12 Once you are happy with the test shots, you can start scanning an entire book.
Press Enter.
Note: You can turn on software timer to have the cameras fire at every set intervals.
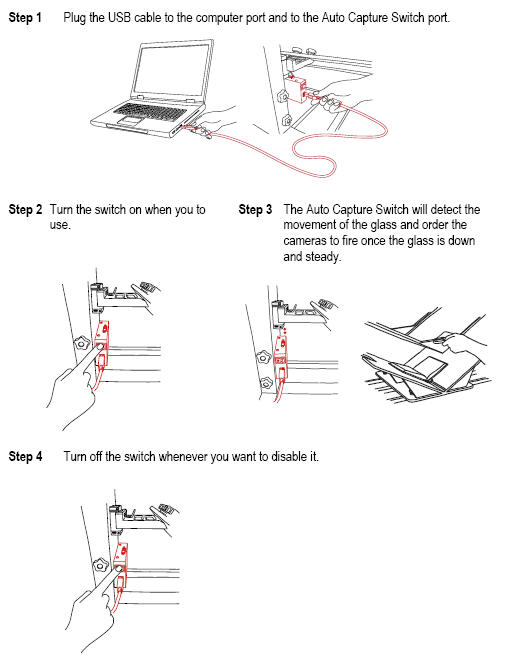
Auto Capture Switch (optional)
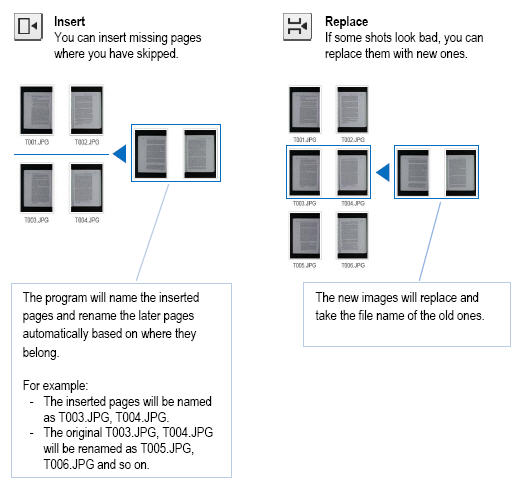
Insert and Replace
How to shoot a blank page?
Here are solutions to deal with the issue:
A. Switching to MF
The easiest way is to temporarily switch from AF (Automatic Focus) mode to MF (Manual Focus).
Press Enter to reshoot.
The cameras should now scan properly. Now switch back to AF mode.
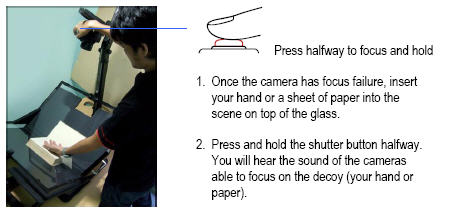
B. Decoy
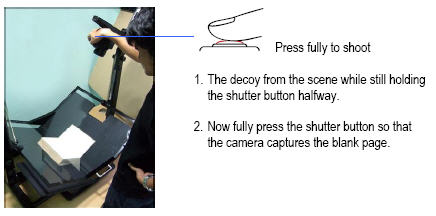
Another solution is to create a decoy for focus and then remove it. Here are steps:
Once the failed camera was able to take a picture, you can continue scanning next pages.
C. Cheat
The cheat solution is to create a small post-it note that says something along the lines of “scanned by ABC Library”. Whenever a blank page pops up, just throw this post-it note on top of the glass so that camera can take the picture.
